![[ DevOps ] - AWS 기반 소규모 & 중규모 아키텍트 설계 - AWS CLI를 통한 작업 정의2](https://img1.daumcdn.net/thumb/R750x0/?scode=mtistory2&fname=https%3A%2F%2Fblog.kakaocdn.net%2Fdn%2FDdMlH%2FbtrGBhVjB3r%2Fi5ZmOyhk8KWKEbkCKqjRN1%2Fimg.png)
우선 저번에 해결하지 못했던 권한문제를 마저 끝내보도록 하겠습니다.

https://docs.aws.amazon.com/AmazonECS/latest/developerguide/task_definition_parameters.html
Task definition parameters - Amazon Elastic Container Service
Task definition parameters Task definitions are split into separate parts: the task family, the IAM task role, the network mode, container definitions, volumes, task placement constraints, and launch types. The family and container definitions are required
docs.aws.amazon.com
여기 이전에 ECS의 작업정의를 할 떄 주어줘야 하는 parameter를 써주어야 합니다. executionRoleArn을 써 줘야 제대로 배포가 가능해 집니다. 그 이유는 컨테이너에서의 권한이 없기 때문입니다. 즉 fargate에서 컨테이너를 만들 떄 레포지토리를 확인할 권한을 준것이라고 보면 됩니다.
/task2.json
{
    "family": "fargate-cli",
    "networkMode": "awsvpc",
    "executionRoleArn": "ecsTaskRole",
    "containerDefinitions": [
        {
            "name": "django-cli",
            "image": "154309361967.dkr.ecr.ap-northeast-2.amazonaws.com/hello-cli",
            "portMappings": [
                {
                    "containerPort": 8000,
                    "protocol": "tcp"
                }
            ],
            "essential": true,
            "entryPoint": [
                "sh",
		"-c"
            ]
        }
    ],
    "requiresCompatibilities": [
        "FARGATE"
    ],
    "cpu": "256",
    "memory": "512"
}
이렇게 옵션을 수정해 주고 아래와 같은 명령어를 쳐 줌으로써 새로운 fargate-cli라는 작업을 생성해 보도록 하겠습니다!
$aws ecs register-task-definition --cli-input-json file://./task2.json그리고 아래와 같이 cli상에서 작업 목록을 확인할 수 있습니다.
$aws ecs list-task-definitions
그 후에는 이제 서비스를 생성하는 과정을 진행해 보도록 하겠습니다.
공식문서에 있는 aws-cli코드를 제 기준에 맞게 다 바꾸어 주도록 하겠습니다.
# 기본 명령어 ( public subnet )
$aws ecs create-service --cluster fargate-cluster --service-name fargate-service --task-definition sample-fargate:1 --desired-count 1 --launch-type "FARGATE" --network-configuration "awsvpcConfiguration={subnets=[subnet-abcd1234],securityGroups=[sg-abcd1234],assignPublicIp=ENABLED}"
# 내 환경
$aws ecs create-service --cluster cli-fargate --service-name cli-fargate-service --task-definition fargate-cli:1 --desired-count 1 --launch-type "FARGATE" --network-configuration "awsvpcConfiguration={subnets=[subnet-0b4587f0ed8afde31],securityGroups=[sg-0fadc624a81cff9aa],assignPublicIp=ENABLED}"
--cluster에는 만든 클러스터 이름을 적어주시면되고, --service-name에는 서비스 이름 아무거나 적어주시면 되고, --task-definition에는 이전에 만든 fargate-cli중 1번째 것을 선택해 주었고, 그 후로는 public-subnet하나 아무거나와, security group 적절히 하나 넣어주었습니다.
이 명령어의 실행 결과는 아래와 같습니다.

그치고 직접 GUI에서 서비스가 생성되었는지 확인해 보겠습니다.
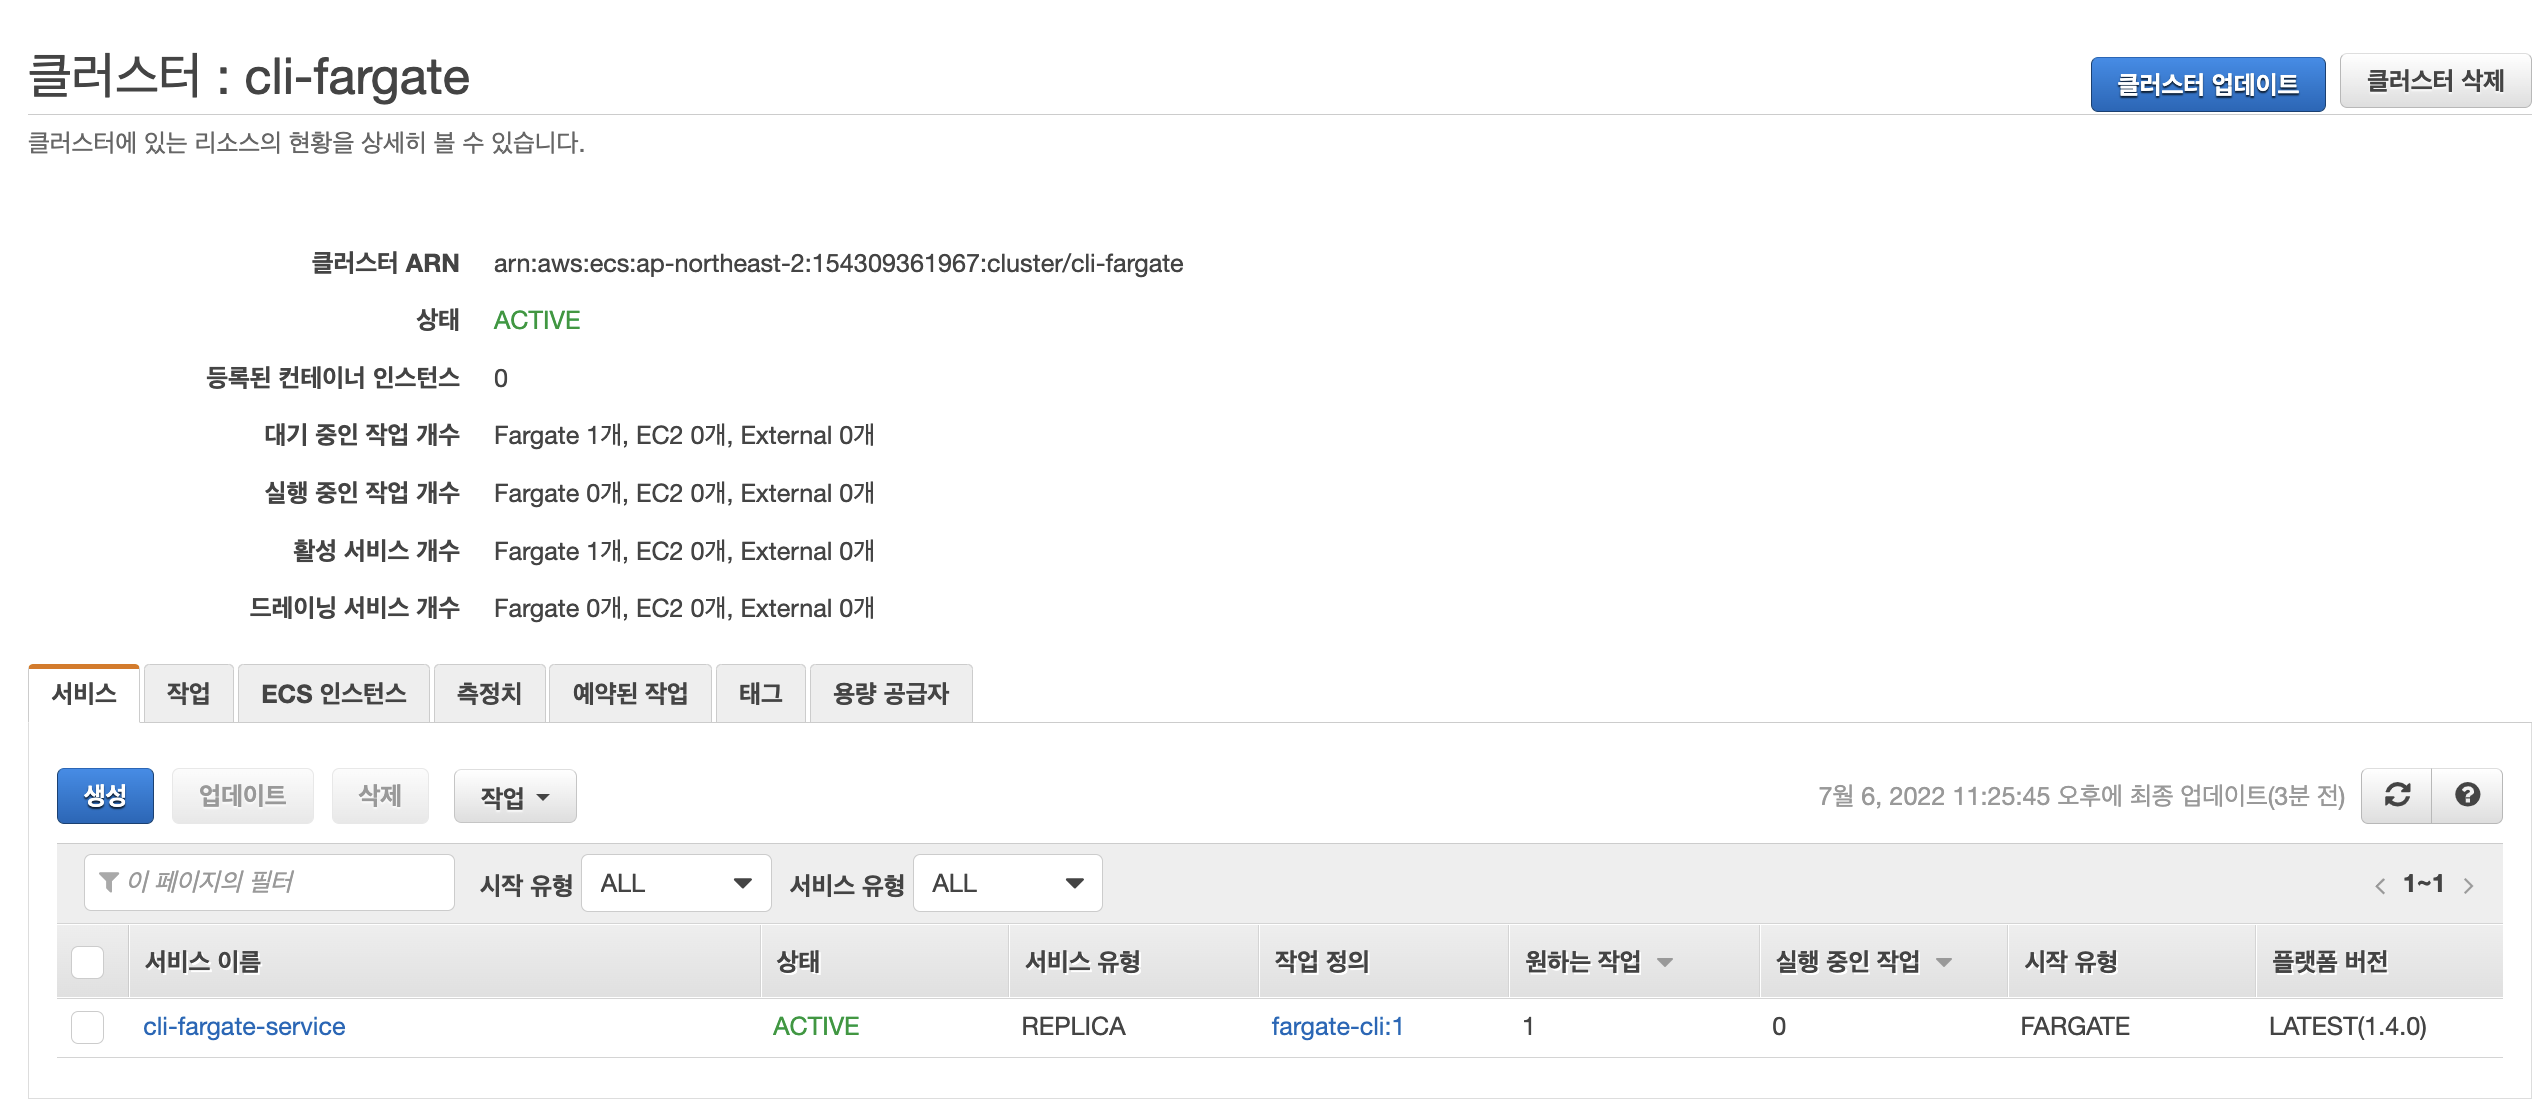
aws-cli로 잘 만들어 졌음을 확인할 수 있습니다. 마지막으로 클러스터와, 서비스를 지우고 끝내 보도록 하겠습니다.
# 기본 코드 ( 서비스 삭제 )
$aws ecs delete-service --cluster fargate-cluster --service fargate-service --force
# 내 환경
$aws ecs delete-service --cluster cli-fargate --service cli-fargate-service --force
서비스가 없어졌음을 확인할 수 있습니다. 그리고 클러스터도 바로 지워보도록 하겠습니다.
# 기본 코드 ( 클러스터 삭제 )
$aws ecs delete-cluster --cluster fargate-cluster
# 내
$aws ecs delete-cluster --cluster cli-fargate
네 싹다 지워진것을 확인할 수 있습니다.
작업 정의는 지우지 않아도 되는데 aws의 과금 방식이 실행되는 작업에 대해서만 금액을 청구하기 때문에 이는 남겨두어도 괜찮습니다.